|
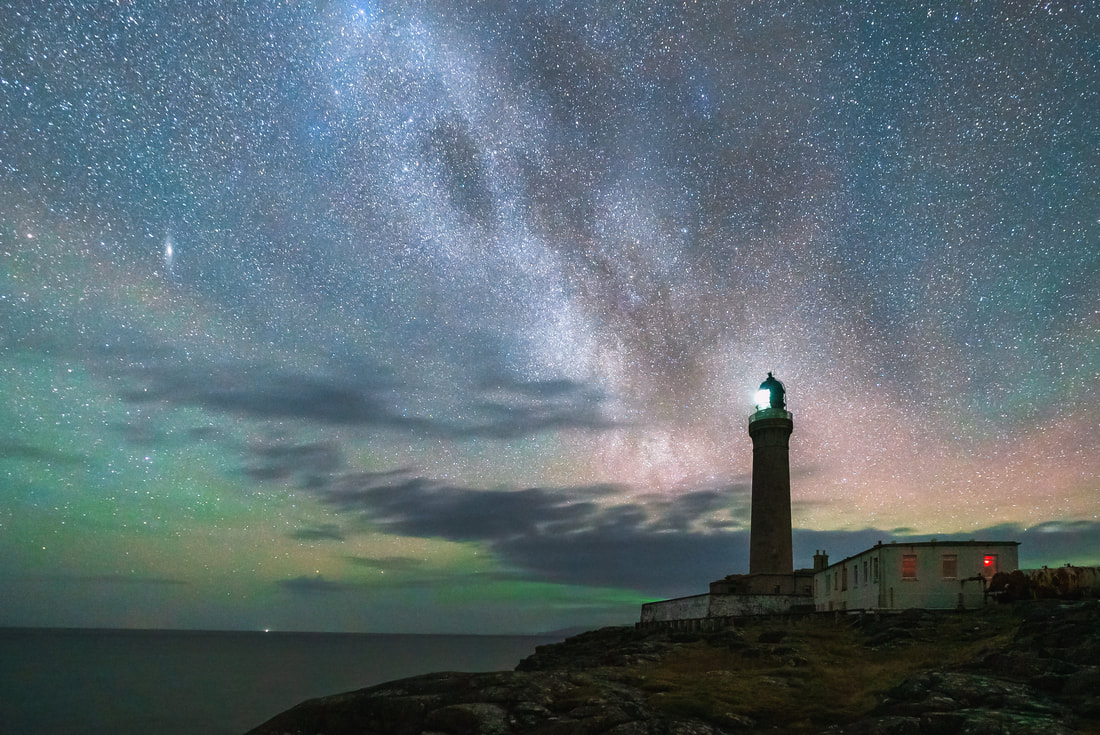
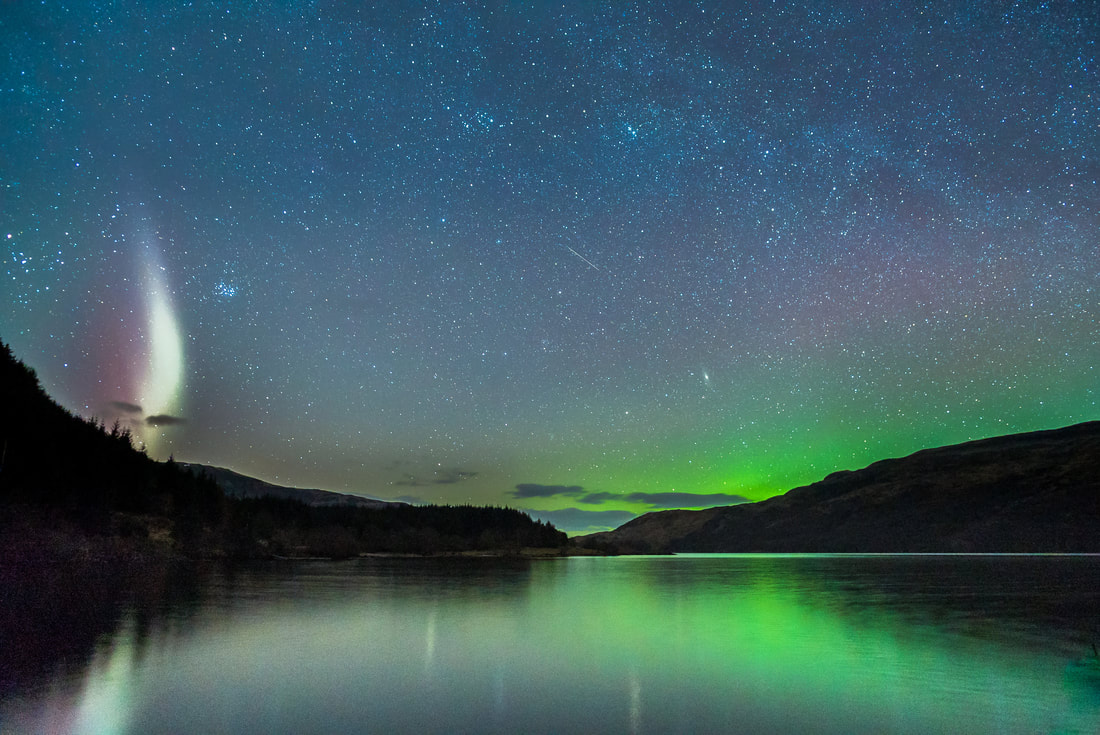
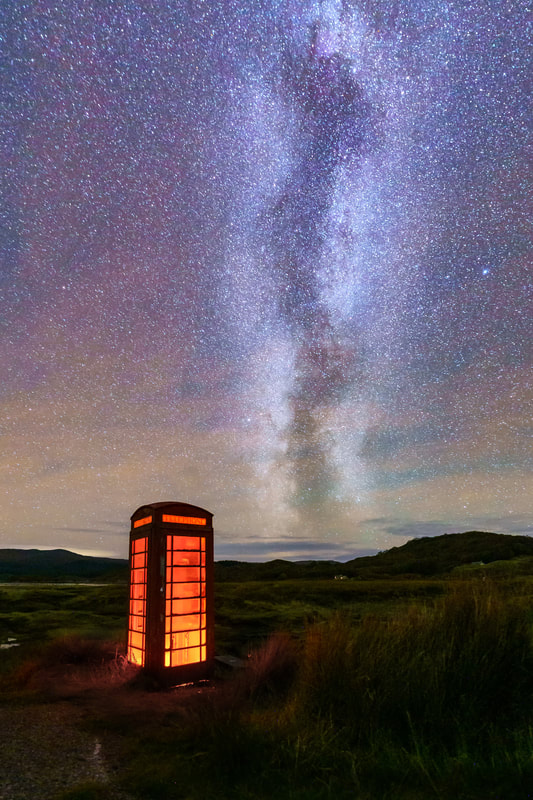
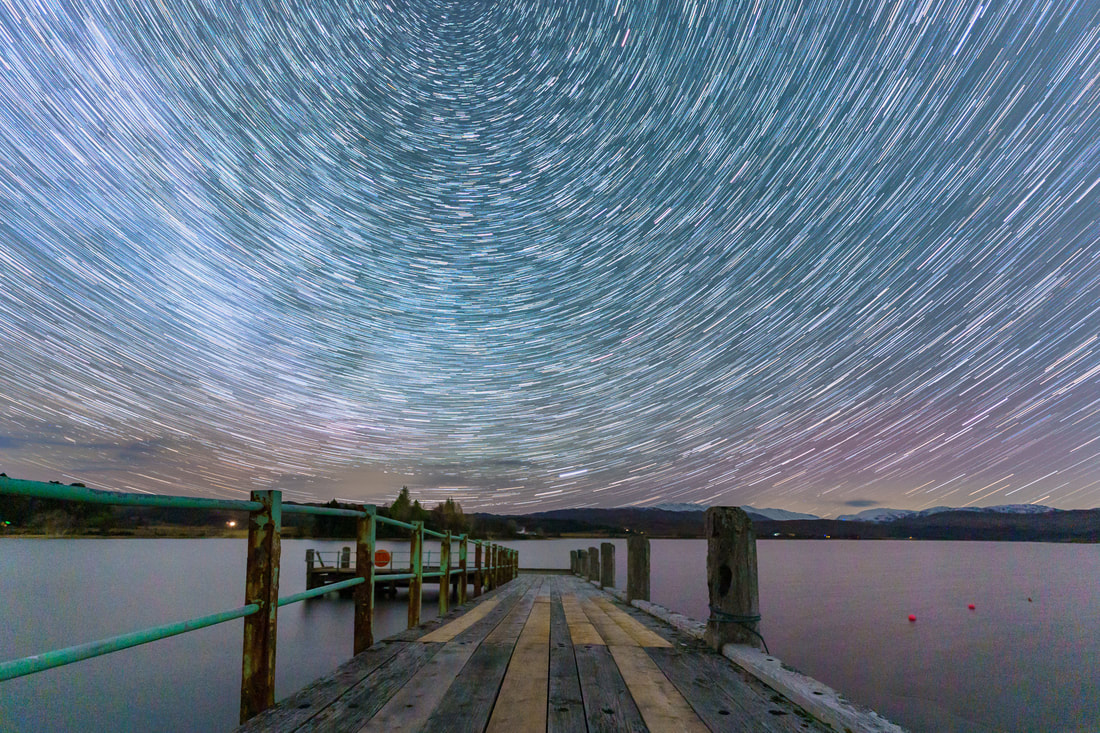
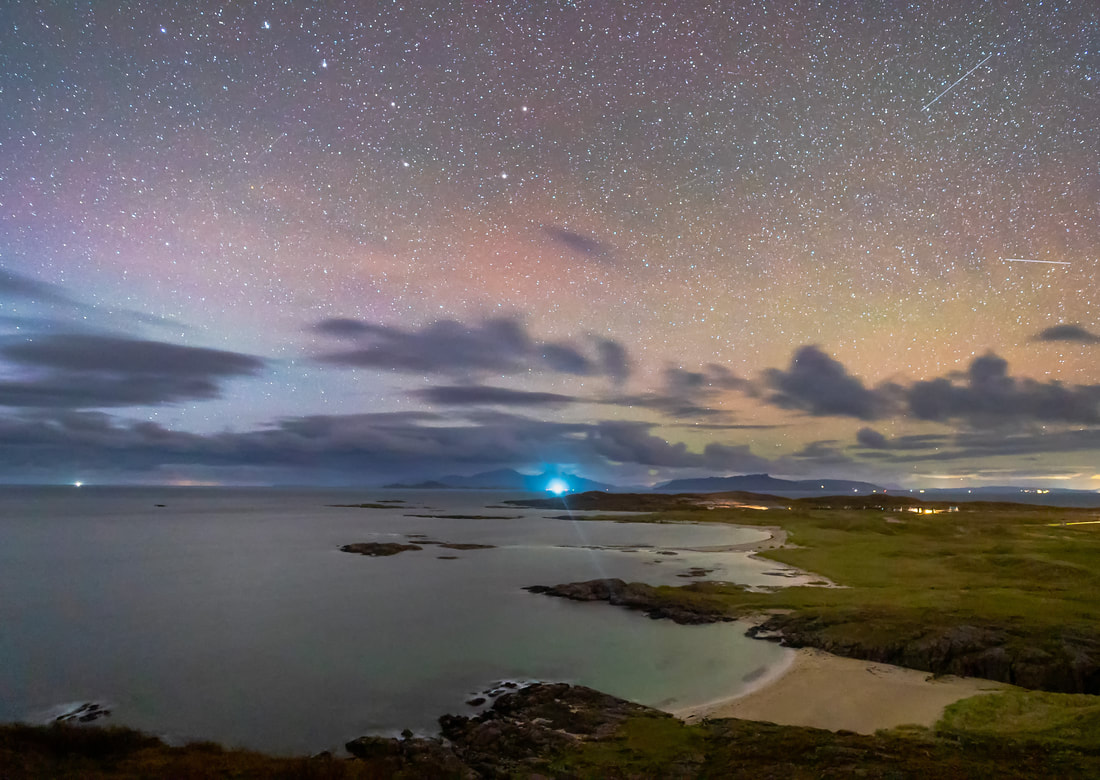
When I moved away from the bright city lights of Glasgow to the unspoilt West Highland Peninsulas, one of the first things that struck me most was just how dark and clear the night sky was. I found that I could simply step out of the door of my house by the side of Loch Sunart and find myself looking up at the Milky Way and well over 7000 stars scattered across the sky above me. As my time on the Peninsula has passed, my interest in night photography has become a passion that produces some of my most popular images and I often get asked by visitors to my Studio about just how difficult night photography is. Well, the simple answer is that “It’s easier than you think” so, in this blog, I thought I’d explain why I think that this is the case. The reality is that you don’t need to buy lots of expensive equipment to capture your first images of the night sky. Any modern DSLR or mirrorless camera fitted with a wide-angle lens and mounted on a tripod will allow you to capture some lovely images of the night sky. So, if you have a full-frame sensor camera and a wide-angle lens with a focal length of about 30mm or less, you will be able to make a start at photographing the stars. Alternatively, if you have a 1.5x cropped sensor camera, a lens with a focal length of about 20mm or less will work fine. Ideally, these lenses should be able to open up to a wide aperture of f2.8 but if yours don’t, just give them a try at their widest setting and see how you get on. If you’re not happy with the results, you can always rent a lens for a little while to see if it is something you’re keen to get into, before deciding to buy a lens specifically for your night photography. The actual process of setting up your camera is not too difficult and in many ways, I think that it is far easier than setting it for daytime photography as there is basically only one setting to use. All you have to do is start no later than 45 minutes or so after sunset, while it is still getting dark, put your camera in manual mode, set it to capture RAW image files and then do the following:
You are now all set up but please be patient and wait for it to get sufficiently dark for the stars to show in your photo. This will usually be about 1½ hours after sunset. Once you think it is dark enough, select your camera’s 2 second timer and use it to avoid you pressing the shutter button during the camera exposure and causing any movement that might blur the image. Simply press the shutter button with the two second timer switched on, wait for the exposure to complete and then check the photo you have just taken. If you find it is under or over exposed, adjust your ISO accordingly, but avoid an ISO that is so high that it makes your photo’s noisy and grainy.
When you have got a shot you are happy with, feel free to change the tripod location and camera position to capture a different composition, but avoid changing your aperture of focal length (dials previously taped to prevent accidental movement) as this will put your camera out of focus. Also, because It will most likely be completely dark by now, you might be best to use a torch to light your field of view while framing the new composition.
2 Comments
Don Goodman
17/1/2022 17:28:15
I am going on a 'Northern Lights Cruise' up the Norwegian coast in March. Have you any advice about the best way to tackle this? Would Video be a good way of capturing them?
Reply
Steven
19/1/2022 08:31:32
Hi Don,
Reply
Your comment will be posted after it is approved.
Leave a Reply. |
AuthorHi, Archives
July 2024
Categories
All
|
Steven Marshall Photography, Rockpool House, Resipole, Strontian, Acharacle, PH36 4HX
Telephone: 01967 431 335 | Mobile: 07585 910 058 | Email: [email protected]
Telephone: 01967 431 335 | Mobile: 07585 910 058 | Email: [email protected]
All Images & Text Copyright © 2024 - Steven Marshall - All Rights Reserved

